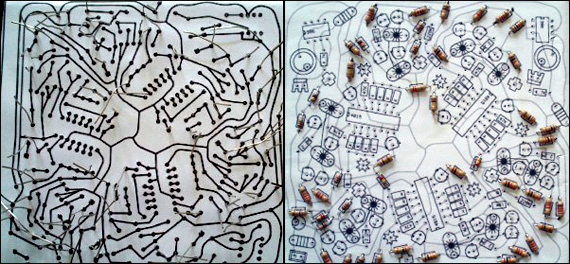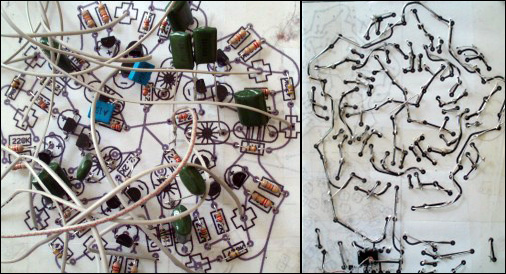
A couple of years ago i found out on the “internets” that you don’t really need a protoboard or a circuit board to make your circuits come to life, the idea was to fold a piece of paper with the circuit design in it (component side and circuit diagram side) and then inserting a piece of cardboard in the middle.
The main idea was the eco, recycled “thingy” since circuit boards are not so eco friendly and take a bunch of time to get recycled by our mother earth, also the economic side (paper and cardboard are almost free), instead circuit boarding takes a long time and it’s hazardous for the environment.

So here’s what i do :
1- print the schematic you want (be sure to include on the sheet of paper both sides of the schematic (component side and schematic)
2‑fold it (the idea is to fold where the component side meets the schematic)
3‑cut a piece of cardboard and insert it in the middle of the sheet of paper
4‑glue both sides on to the cardboard (now you must have a beautifull circuit board made of cardboard)
5‑with a needle pierce (component side) all drilling holes into schematic side
6‑insert the components (resistors, ic, capacitator etc..)
7‑turn it back (schematic side) and start to solder (be sure to folow the traces on the paper), the best way to do this is to simply bend the leads of the components and solder them together, if you have a large area were the lead is not long enough just use a wire or something similar.
8‑have fun
