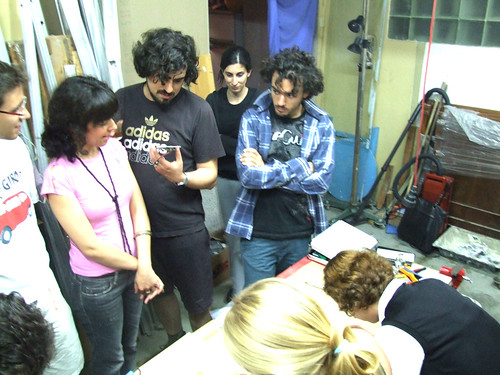
In the next weeks we’ll be giving two workshops at BetaLab, a co-working space organized by betahaus| within the Chiado-After-Work program.
Here’s all the information and workshops’ schedule (in Portuguese):
Workshop DIY Kinetic SolarBots — Construa o seu próprio robot cinético solar.
Neste workshop os participantes vão construir um pequeno robot cinético através da montagem de um circuito solar com um pequeno motor e do design/modelagem do corpo do robot com Shmelzolan (plástico utilizado em artesanato).
Datas : 12 de Maio / 19 de Maio / 26 de Maio
Horário : 17h — 21h
Preço : 25 Euros/Pessoa
Local : Rua Garrett, 70 (Baixa, Lisboa)
CC : Video by xdatelier (http://xdatelier.org/)
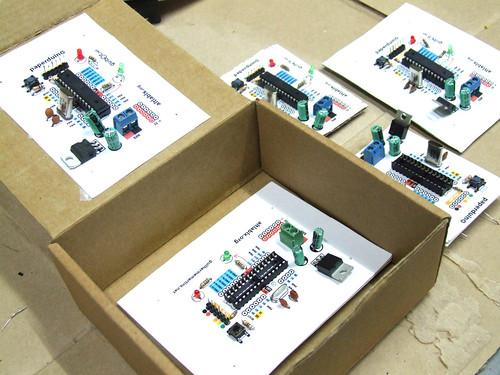
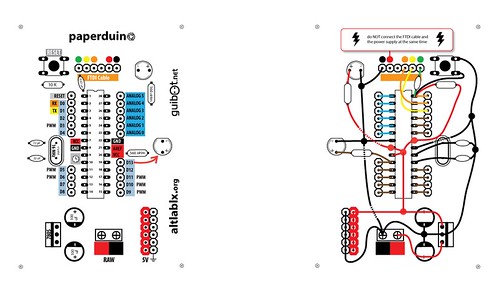
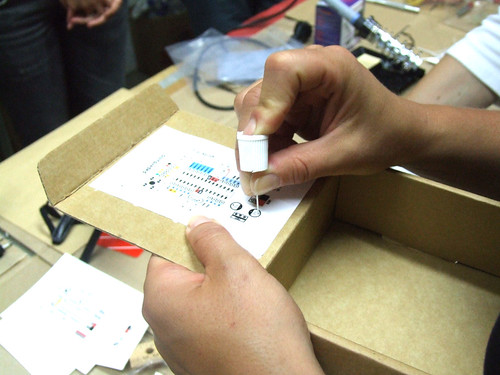
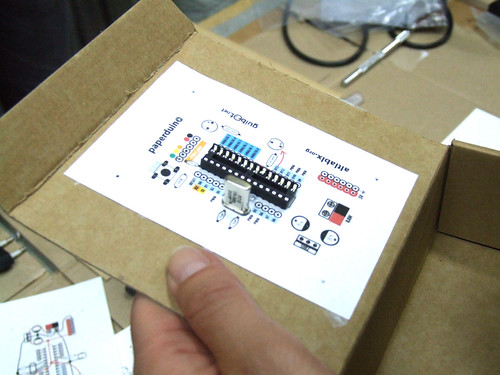
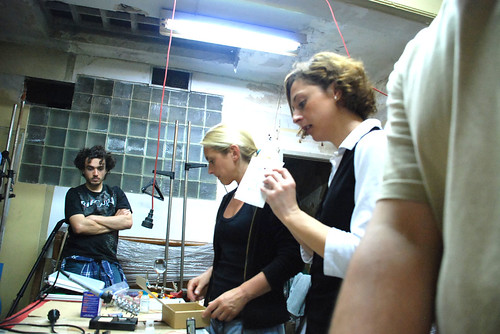
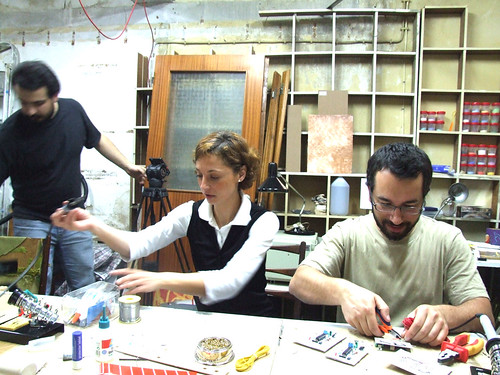
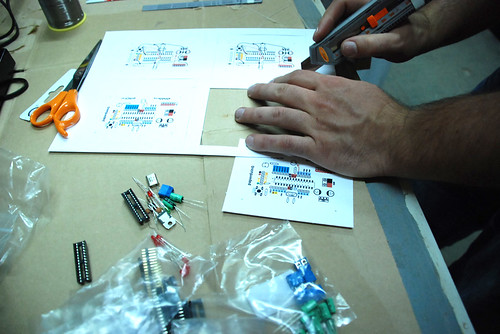
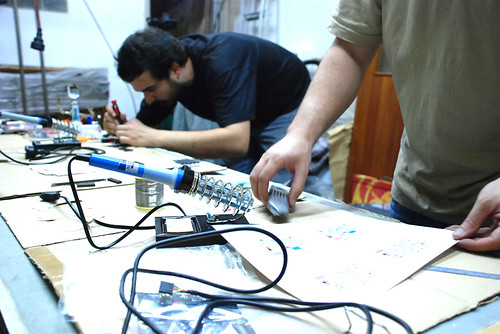
Workshop Electrónica Aprender a soldar
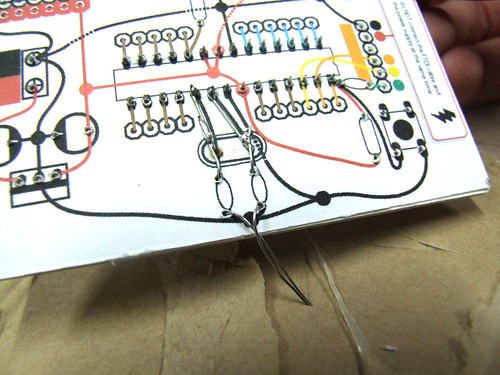
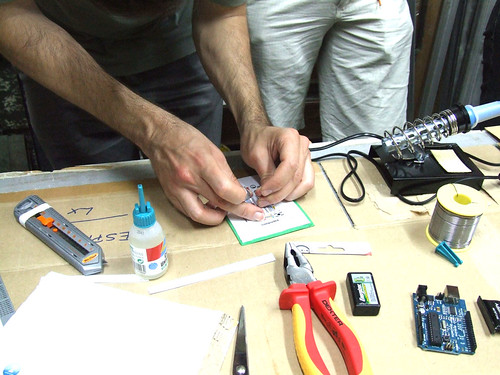
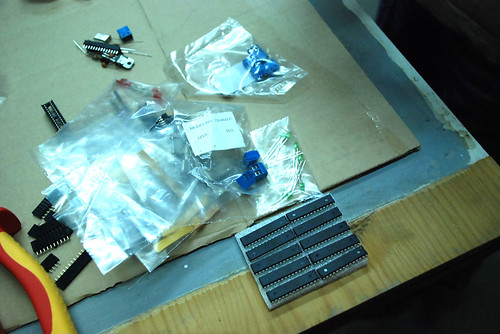
Qualquer pessoa é capaz de fazer uma boa soldadura, é só uma questão de prática! Neste workshop aprendemos a soldar construindo circuitos muito divertidos como o Pisca-Pisca LED, uPONG (Retro Video GAME), Drawdio (um lápis/pincel que emite sons enquanto desenhámos) entre outros.
Datas : 14 de Maio / 21 de Maio / 28 de Maio
Horário : 17h — 21h
Preço : entre 10 — 35 Euros/Pessoa (consoante o kit seleccionado para construir)
Local : Rua Garrett, 70 (Baixa, Lisboa)

A inscrição para qualquer um dos workshops numa das das disponíveis deve ser efectuada via email para o endereço : [email protected]