This Sunday we’re holding our first Soft Circuits Open Lab at the School of Fine Arts in Lisbon (FBAUL — Faculdade de Belas Artes de Lisboa). There is no predefined structure for the event. We will meet for the course of one day with the purposes of sharing knowledge, experimenting freely, advancing on-going projects, and just having fun working together. Some of the people attending will be specialists in electronics and others in textiles. Barcamp style impromptu presentations are very welcome.
Altlab will provide some basic tools such as pliers, scissors, soldering irons, ironing board, etc. But participants must bring all the materials and additional equipment necessary for their own projects/experiments (including laptops). Here are some suggestions: any kind of fabric, needles and thread, yarn, t‑shirts, conductive and/or resistive fabric, conductive thread, conductive and/or resistive yarn, knitting and/or crochet needles, LEDs, coin cell batteries, battery holders, EL wire, strands of fiber optics, copper foil, copper adhesive track, aluminum foil, resistive foam, regular foam, arduinos (lilypad or any other kind). If you’ve never worked with any of these materials and don’t have them handy, come anyway, you can help someone else with their project and learn along the way.
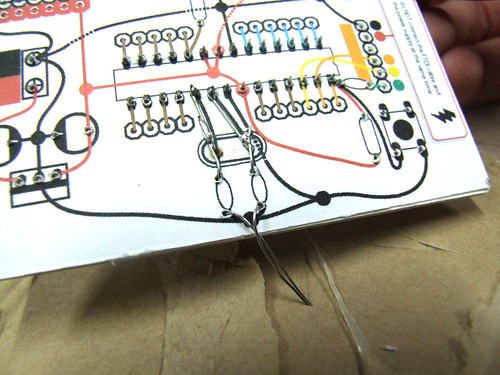
For more information on soft circuits techniques and materials, check out the Soft Circuits Resources section on the openMaterials wiki.
This open lab will take place on February 21st, from 10:30 to 18:30, at the School of Fine Arts in Lisbon, room 307, 1st floor (since our own space is still under construction). All are welcome, there is no fee nor registration, but please do let me know if you are planning on coming: catarinamota(at)audienciazero.org